


Talk to a coach about Relationship coaching

Dr Soraya Sawicki, DSW, CPC, RMT
DSW, CPC, CSC, RMT
Personalized wellness coaching for stress relief, energy, and inner harmony.

Daniel Herron
CPLC
You know what it's like to avoid, to push away....

Dr. Kate Watson
B.A Psychology, M.Ed. Psychological Counseling, Dr.PH in Public Health, Certified Health Coach, Certified Life Coach, Certified Mind and Body Specialist, Certified Women's Empowerment Coach, Certified Neurodiversity Coach
Dr. Kate Watson helps people with boundaries, coping strategies, and...

James Morrison
Relationship Coach Certified, PGCert Psych
Attentive listener, experienced life coach specializing in relationships.

Jeff Batton
the coach of what not to do!
I specialize in identifying underlying patterns in your life that...

Lee Wilson
Master Diploma, Marriage Counseling
Breakup recovery & relationship coach with 20+ yrs experience and...

Dr. Patty ll Beach
Metaphysician, Doctor of Divinity & Spirituality
Intuitive Psychic Life Coach & Metaphysician for Spiritual Awakening

Ivy Lofberg
Member of Relationship Coaching Institute, IAC-accredited Professional Coach, OneSpirit Interfaith Minister
Author of 5 G.R.E.A.T Laws of Dating, dedicated to helping...

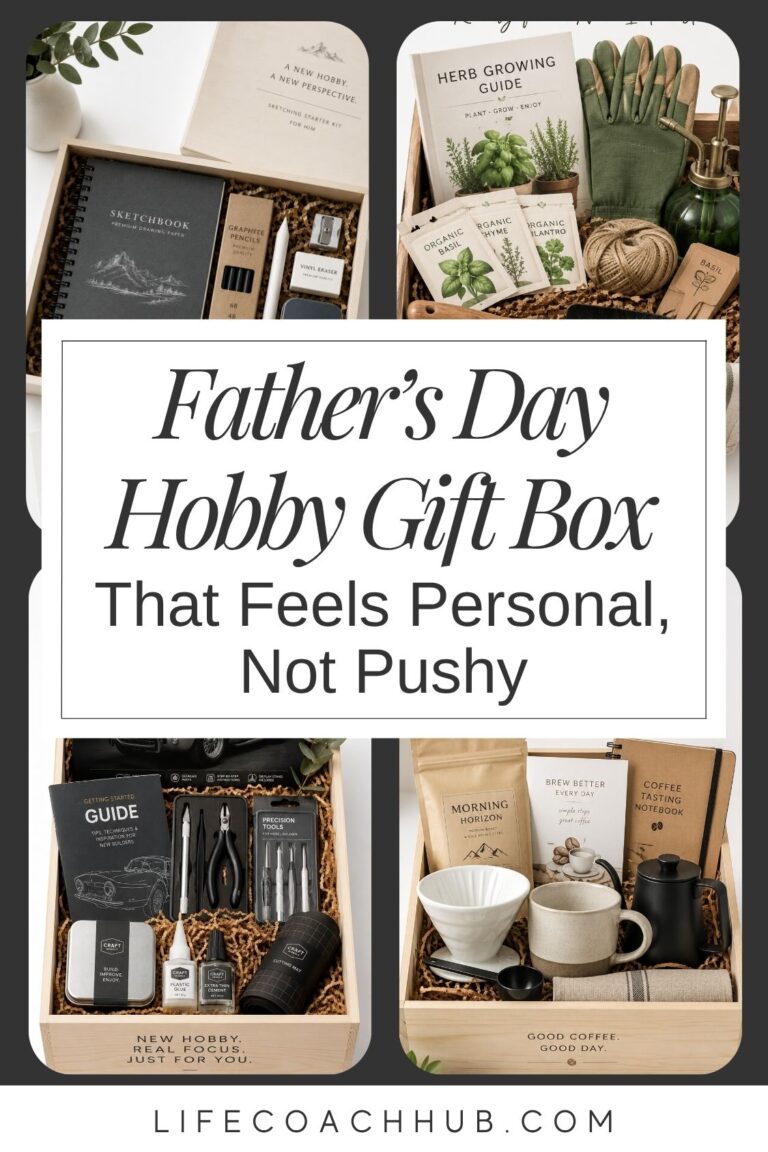
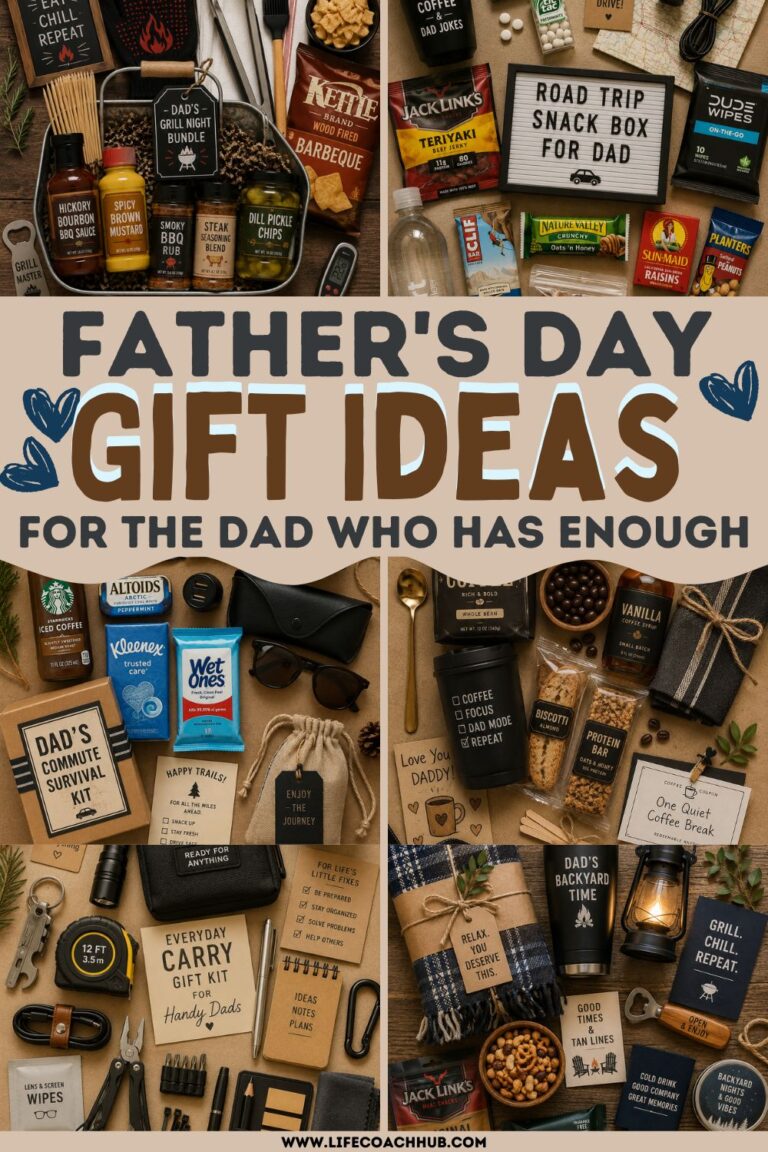
Neighbor Gift Baskets You Can Make 10 of at Once
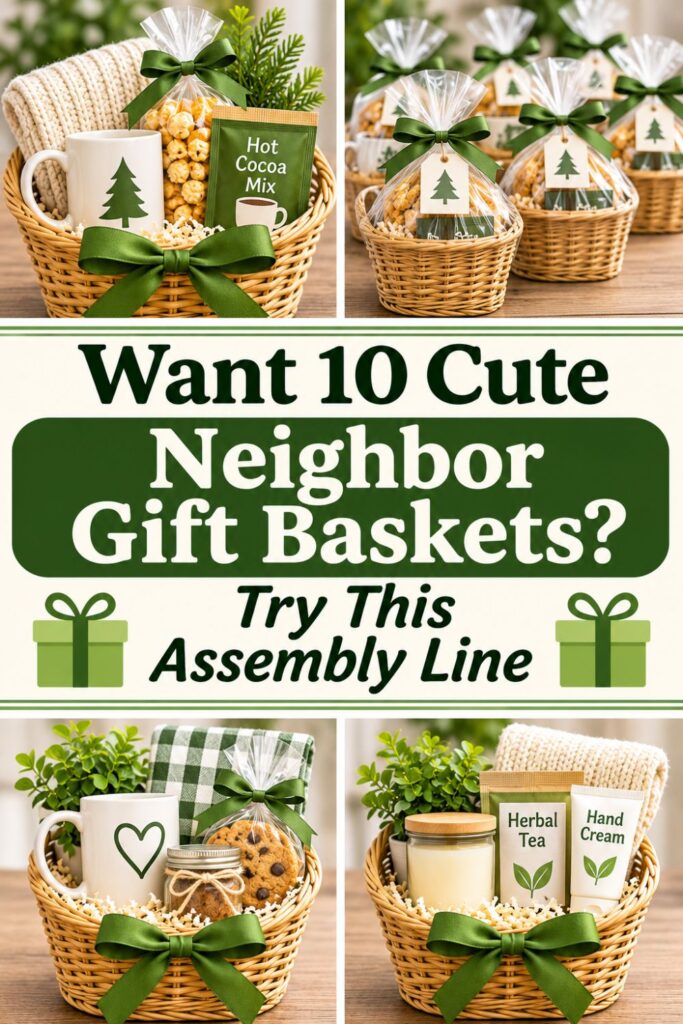
Ten Thoughtful Neighbor Gifts Without Ten Separate Projects
Making neighbor gift baskets sounds like a simple, thoughtful project until you realize you need to put together ten of them. Suddenly, you’re shopping for supplies, choosing containers, arranging gifts, writing cards, and wrapping everything multiple times.
The good news is that creating ten neighbor gift baskets doesn’t have to mean doing ten separate projects. With one repeatable formula and a simple assembly line, you can prepare a coordinated collection of gifts without spending an entire weekend putting them together.
The secret is knowing which parts of the process to repeat and which details to personalize. Every basket can have the same basic structure while still feeling like it was made with a particular neighbor in mind.
Think of the process as preparing ten versions of one thoughtful gift. You choose the contents once, calculate how much you need, arrange everything in stages, and finish each basket with a personal touch.
This approach also makes it easier to stay within your budget. Instead of buying individual items for every neighbor, you can take advantage of multipacks, reuse containers you already own, and avoid purchasing unnecessary decorations.
You don’t need expensive wicker baskets or complicated handmade projects to make the gifts feel special. A simple kraft box filled with carefully chosen treats and finished with a handwritten note can look just as appealing as something from a specialty gift shop.
Best of all, the system works for more than one occasion. You can use it for Christmas gifts, welcoming new neighbors, neighborhood appreciation gestures, or small thank-you presents throughout the year.
The following steps will show you how to create a ten-basket assembly line, from choosing your first gift item to delivering the finished presents. By the end, you’ll have a practical method you can reuse whenever you want to give several thoughtful gifts at once.
If you want to get more from your life, and are looking for concrete action steps to get you there, check out our Request a Coach page. It’s a “cut the fence-sitting and take action” way to tackle your issues and actually find success. To get off the fence and start to take action, click or tap here.
Need some relationship guidance? Drop on by our directories choc full of relationship coaches and dating coaches to help make your love life the best it can be. Or click here to have us match you to the best.
1. Choose One Basket Formula You Can Repeat Ten Times
The easiest way to make ten neighbor gift baskets is to settle on one simple formula before buying anything. When you choose each basket’s contents individually, you create extra decisions, shopping trips, and opportunities to overspend.
A repeatable formula gives every gift a consistent foundation while leaving room for small differences.
- Choose one main gift item: Start with something practical, affordable, and likely to appeal to several households. A small tea assortment, coffee package, jar of jam, or seasonal household item can serve as the centerpiece of your basket.
- Use the one-plus-two formula: Pair your main gift with two smaller complementary items that make sense together. For example, a tea assortment could include a honey stick and a wrapped biscuit, creating a complete afternoon-tea gift without unnecessary extras.
- Stick to one theme: Choose a direction that connects the contents, such as cozy mornings, relaxing evenings, or homemade treats. A consistent theme makes even inexpensive products feel thoughtfully selected rather than randomly collected.
- Choose broadly appealing items: Consider whether the gifts will suit different ages, household sizes, and preferences. If you’re including food, select shelf-stable, commercially packaged items with ingredient information available so recipients can make their own choices about allergens.
- Allow one small variation: Choose two flavors, scents, or colors that work within the same basket formula. You might alternate between two tea varieties while keeping every other item and the packaging consistent.
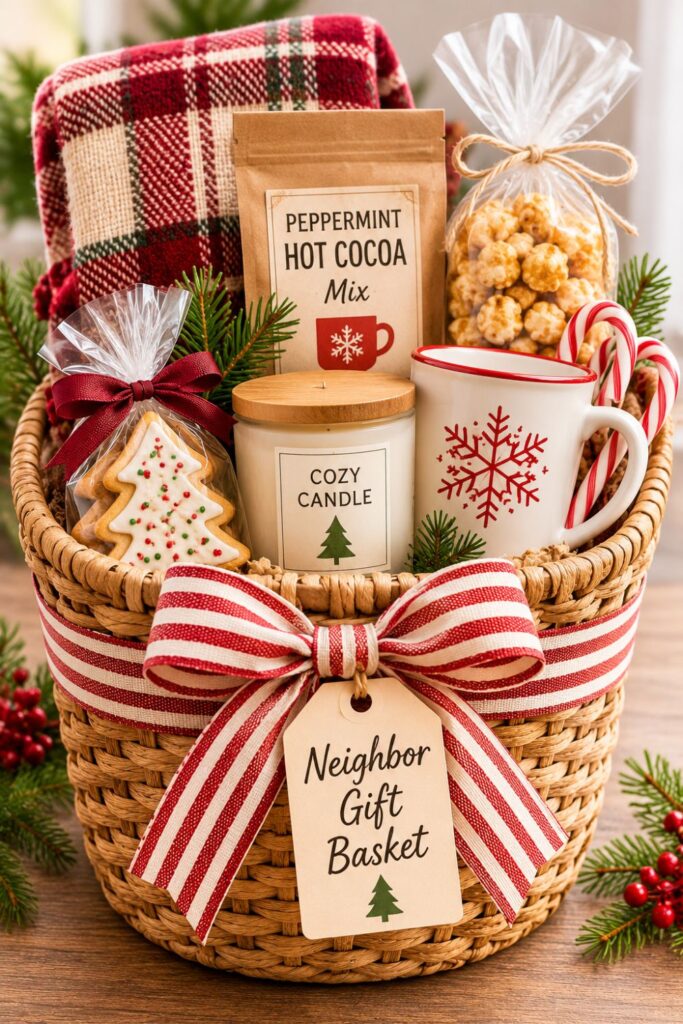
Before shopping, assemble one sample basket using items you already have or plan to purchase. This helps you check whether the contents fit the container and whether the finished gift feels complete.
Once you’re happy with the sample, write down its exact contents. That becomes the formula for the other nine baskets.
The goal isn’t to make every gift identical. It’s to establish a dependable foundation so you can focus your creativity on the details that recipients will actually notice.
2. Create a Ten-Basket Shopping Checklist That Controls Your Budget
Shopping for ten gift baskets can become expensive when you start adding small extras without tracking the total. A few inexpensive treats, decorations, and packaging supplies can quickly increase the cost of the entire project.
The simplest way to control spending is to calculate the cost of one complete basket before multiplying the quantities.
If you want to get more from your life, and are looking for concrete action steps to get you there, check out our Request a Coach page. It’s a “cut the fence-sitting and take action” way to tackle your issues and actually find success. To get off the fence and start to take action, click or tap here.
- Set a per-basket budget: Decide how much you want to spend on each neighbor and multiply that amount by ten. If your limit is $10 per basket, your total project budget is $100, including containers, contents, and packaging.
- Divide the budget into categories: Allocate money for the main gift, two supporting items, and packaging. For a $10 basket, you might allow $4 for the main item, $3 for complementary treats, and $3 for the container and finishing materials.
- Multiply your shopping quantities: Turn your basket formula into a list for ten people. If each basket contains one main gift and two additional items, you’ll need ten main gifts, ten of each supporting item, ten containers, and ten gift tags.
- Look for multipack savings: Compare packages of individually wrapped biscuits, tea bags, mini soaps, or other items that can be divided evenly. Check the price per usable item to make sure the larger package offers genuine savings.
- Check your supplies before spending: Search for unused gift bags, clean jars, tissue paper, ribbon remnants, and small boxes. Reusing suitable containers and decorations may free up more of your budget for the actual gifts.
- Skip unnecessary filler products: Avoid buying random inexpensive items simply to fill empty spaces. Tissue paper, careful arrangement, and choosing an appropriately sized container can make a basket look complete without adding more products.
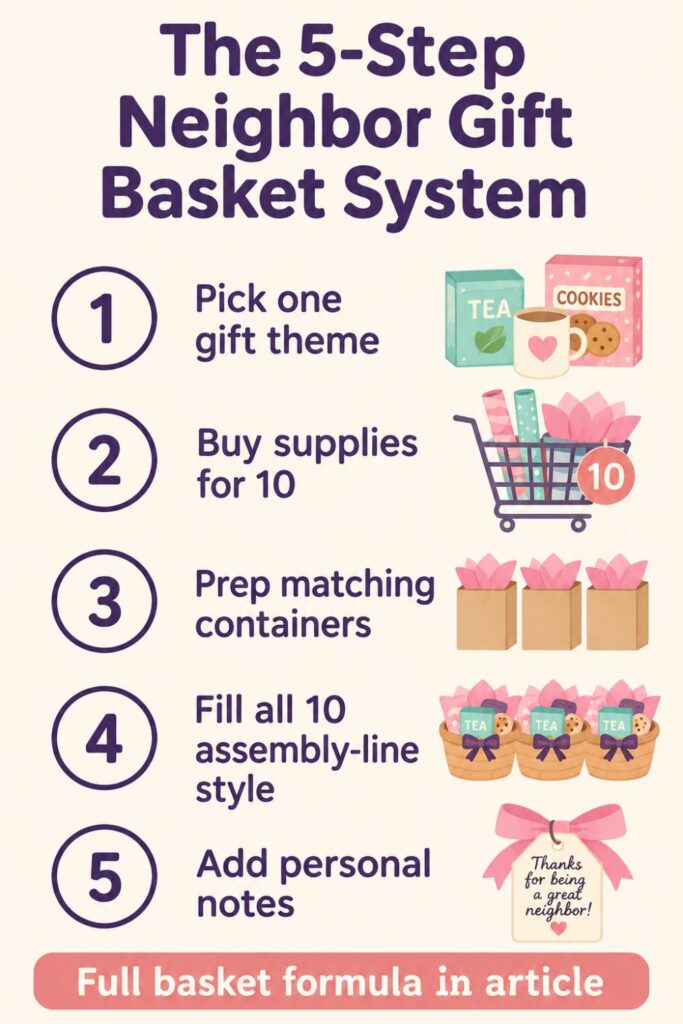
Keep your shopping checklist divided into contents, containers, and finishing supplies. Mark off quantities as you buy them to avoid accidentally purchasing duplicates.
Remember that a basket with three carefully selected items can feel more generous than one filled with miscellaneous products. Thoughtful combinations and coordinated presentation are often more important than the number of gifts inside.
3. Turn Ten Simple Containers Into a Coordinated Gift Set
The container has a major influence on how a gift basket looks. Even inexpensive contents can feel special when they’re arranged inside packaging that appears intentional and coordinated.
You don’t need ten matching wicker baskets to achieve that effect. Small kraft boxes, reusable jars, paper gift bags, and repurposed containers can all work beautifully.
- Choose one container style: Decide whether your gifts will go into boxes, bags, jars, or baskets before shopping for the contents. Keeping the containers approximately the same size makes arranging and wrapping all ten much easier.
- Repurpose suitable household items: Look for sturdy cardboard boxes, clean glass jars, unused paper bags, or small reusable containers. Remove old labels and inspect everything for damage, odors, or stains before using it for gifts.
- Create a consistent appearance: If your containers don’t match, cover them with the same kraft paper or use identical tissue colors. Simple wrapping can make assorted boxes look like part of one coordinated gift collection.
- Limit your packaging colors: Choose two complementary colors for ribbon, paper, and tags. For example, kraft brown and cream create a warm, understated look, while pale green and white feel fresh and clean.
- Add height using inexpensive materials: Place folded tissue or clean packing paper at the bottom of each container to raise the gifts. Position the largest item toward the back and arrange smaller products in front so everything remains visible.
- Prepare matching gift tags: Cut ten tags from cardstock or recycled paper using one template. Make the tags consistent in shape and size, but leave space for handwritten names and individual messages.
Once you’ve chosen your materials, decorate one complete container as a sample. This will help you judge how much paper, ribbon, and padding you actually need for the other nine.
Avoid oversized containers that require extra products to appear full. A smaller box that holds three items comfortably will usually look more finished than a large basket with the same contents scattered across the bottom.
The goal is to create a consistent presentation using inexpensive materials. Matching proportions, simple colors, and careful placement will do most of the work.
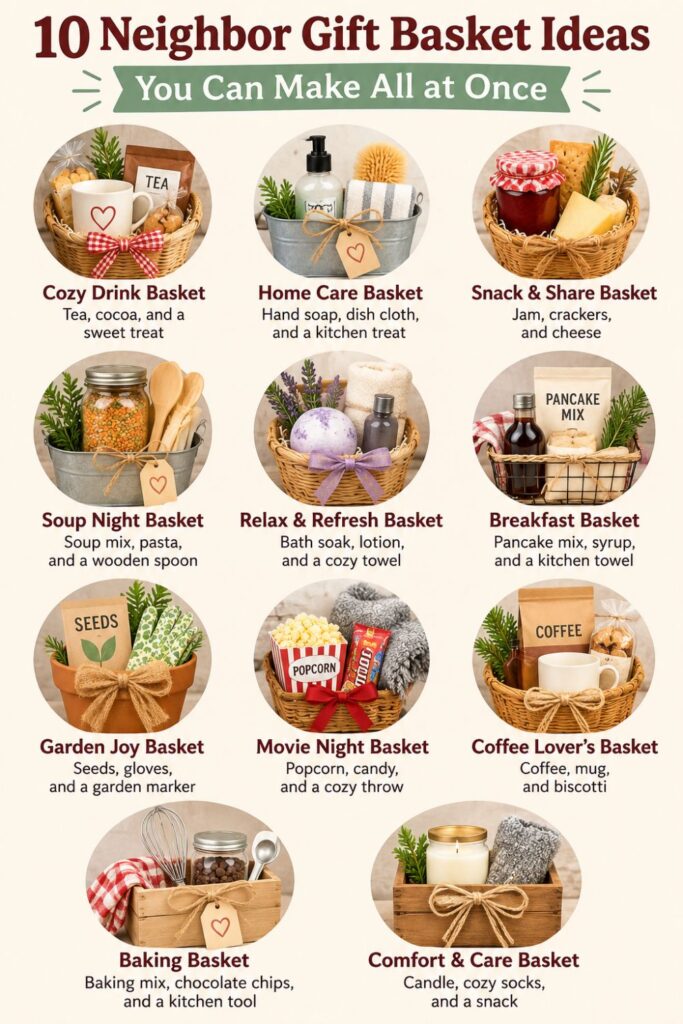
4. Set Up a Four-Station Assembly Line to Build All Ten Baskets
This is where the biggest time savings happen. Instead of completing one basket from start to finish and repeating the entire process nine more times, you’ll prepare every basket in stages.
If you want to get more from your life, and are looking for concrete action steps to get you there, check out our Request a Coach page. It’s a “cut the fence-sitting and take action” way to tackle your issues and actually find success. To get off the fence and start to take action, click or tap here.
Batch assembly reduces unnecessary movement, keeps supplies organized, and helps you notice missing items before the gifts are finished.
Start by clearing a large table or countertop. Arrange your containers in two rows of five so you can see all ten gifts throughout the process.
- Station 1: Prepare the containers: Place all ten empty containers on your workspace and add tissue or packing paper to each one. Adjust the padding until the containers have roughly the same interior height and are ready for filling.
- Station 2: Add the main gifts: Move across the row, placing one anchor item into each container. Position taller items toward the back or center so they create a consistent foundation for the smaller gifts.
- Station 3: Distribute supporting items: Add the first complementary item to all ten containers before moving on to the second. This makes it easy to check that every neighbor receives the correct quantity.
- Station 4: Finish the packaging: Arrange the items neatly, tuck in loose paper, and attach ribbons or simple wraps. Keep your scissors, tape, tags, and other supplies together so you aren’t searching for tools between baskets.
- Check the lineup before personalizing: Step back and compare the ten containers. Adjust any that appear significantly emptier, taller, or more crowded than the others.
The key is to finish one type of task across all ten gifts before starting the next. That means preparing every container first, distributing all the contents second, and completing the decorations afterward.
Keep a small checklist nearby and mark off each stage as you finish it. This helps prevent the familiar problem of discovering that one basket is missing an item after everything has been wrapped.
By the time you reach the last station, all ten baskets should look coordinated and nearly complete. The only remaining task is adding the details that make each one personal.
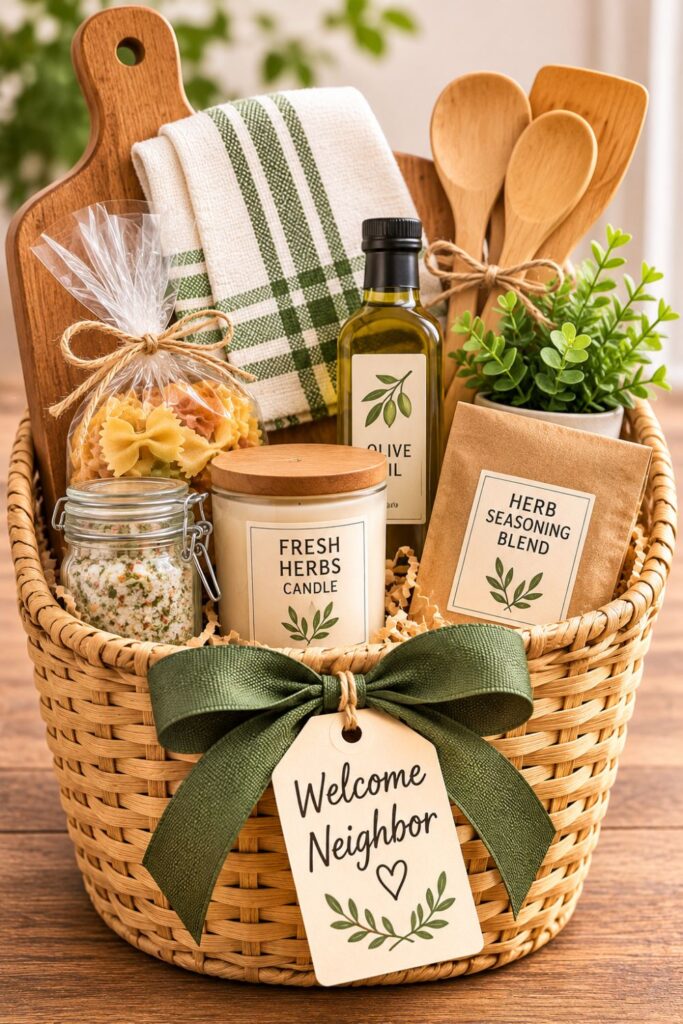
5. Make Every Basket Feel Personal Without Starting From Scratch
One concern with batch-made gifts is that they might look impersonal. If every basket contains exactly the same products, packaging, and message, recipients may feel they’re receiving something assembled without much thought.
Fortunately, you don’t need ten completely different gifts to avoid that impression. A few carefully chosen personal details can make each basket feel individual.
- Write each neighbor’s name by hand: Address every gift tag to the person or household receiving the basket. Handwritten names add warmth and immediately distinguish one gift from another, even when the packaging is identical.
- Include a short personal message: Use a simple structure that starts with a greeting, adds a genuine detail, and ends with a warm wish. For example, “Thank you for always bringing our bins in. We’re lucky to have you as neighbors!”
- Use thoughtful variations when appropriate: If you know certain neighbors prefer coffee instead of tea, prepare two versions using the same container and arrangement. Keep the choices limited so personalization doesn’t create an entirely new shopping project.
- Add one small handmade detail: Attach a handwritten recipe, decorate a simple paper tag, or include a small homemade ornament that fits the theme. One carefully made addition is usually enough to give the gift a personal feel.
- Match the message to your relationship: A close neighbor might appreciate a specific thank-you note, while someone you rarely see may prefer a friendly message such as “We’re so glad to be neighbors. Wishing you a wonderful week!”
It’s worth setting aside a little extra time for this final stage. While the assembly line makes preparation efficient, the handwritten details are what help each basket feel like an individual gesture.
If you want to get more from your life, and are looking for concrete action steps to get you there, check out our Request a Coach page. It’s a “cut the fence-sitting and take action” way to tackle your issues and actually find success. To get off the fence and start to take action, click or tap here.
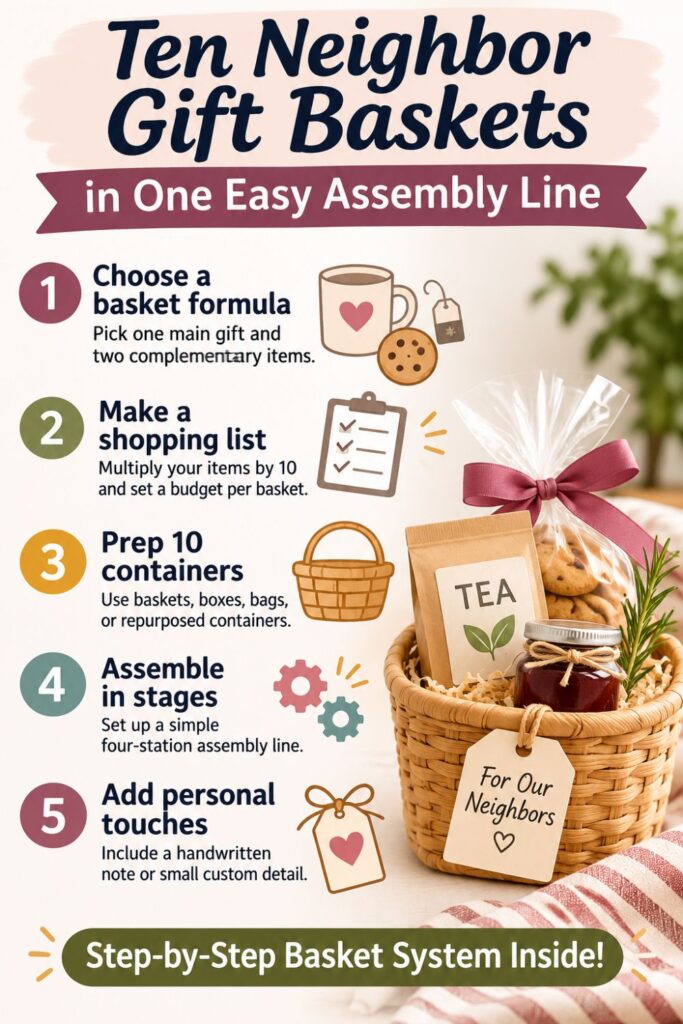
You can prepare the blank tags in advance, then write the messages once every basket is assembled. Keep your neighbor list beside you so the correct tag goes on the correct gift.
Personalization doesn’t have to mean spending more money or making complicated changes. Sometimes a thoughtful sentence that acknowledges your relationship with someone means more than another product tucked into the basket.
6. Use a Final Quality-Control Checklist Before Delivering the Baskets
After assembling ten baskets, it’s tempting to wrap everything immediately and consider the project finished. But a quick final inspection can prevent missing items, messy packaging, and mix-ups during delivery.
The easiest way to complete this step is to compare every basket against your original formula. You already know what a finished gift should contain, so checking all ten shouldn’t take long.
- Confirm the contents: Check that each basket includes the correct main gift, both supporting items, and any intended personal additions. Use your shopping checklist to verify quantities rather than relying on memory.
- Inspect the presentation: Compare the containers side by side and look for loose tissue, uneven ribbon placement, or items that have slipped out of position. Make small adjustments so each gift looks equally finished.
- Check food safety and packaging: Make sure edible gifts are properly sealed and that ingredient or allergen information remains available. Keep perishable products refrigerated as required and avoid leaving temperature-sensitive gifts outside unattended.
- Secure fragile or loose items: Add tissue or suitable packing material around glass jars and delicate products. Gently lift each basket to check whether its contents shift or feel unstable.
- Check names and gift tags: Read each tag and confirm that personalized messages are attached to the correct baskets. This is especially important when you’ve created different flavors or variations for specific households.
- Plan your delivery order: Write a short list of the neighbors receiving gifts and arrange the baskets according to your route. Group nearby households together so you can distribute everything without making unnecessary trips.
If you’re transporting several baskets in a car, place them upright inside a larger box or shallow storage bin. This helps prevent containers from tipping over and keeps the gifts organized until they’re delivered.
You can also keep a few spare tags, a pen, and a small roll of tape nearby for last-minute corrections. These inexpensive supplies can save you from having to unpack an entire basket to fix one detail.
Once every gift passes the checklist, you’re ready to deliver them. The final inspection takes only a small amount of time, but it helps ensure that every neighbor receives a basket that looks carefully prepared.
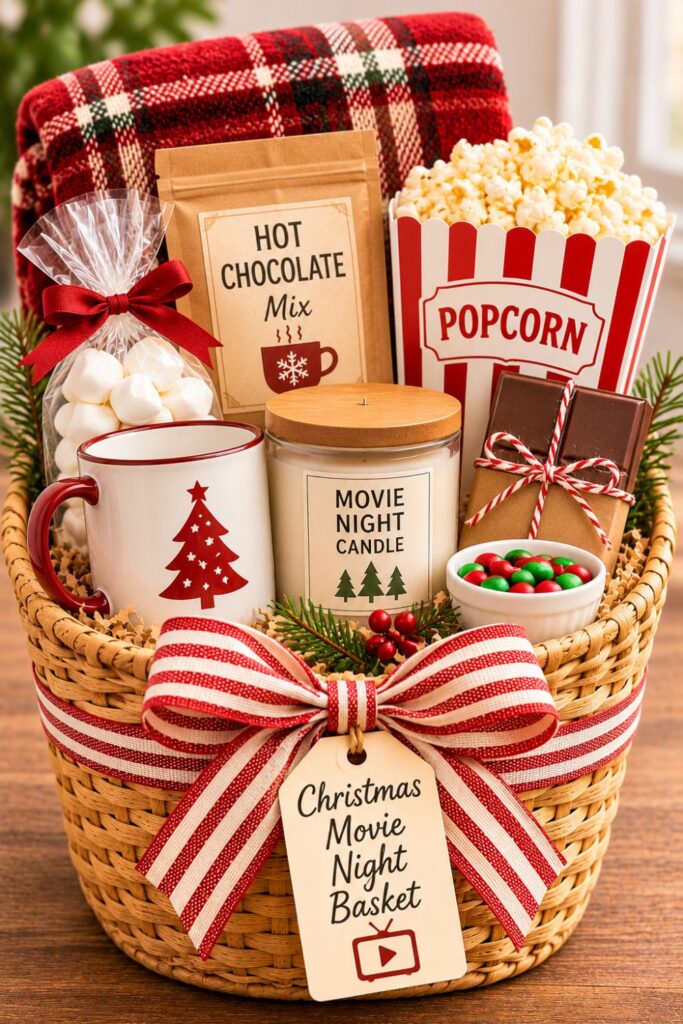
Save Your Basket Formula So Next Time Takes Even Less Work
One of the best parts of creating a ten-basket assembly system is that you don’t have to start from scratch the next time you want to make multiple gifts. Once you’ve worked out the quantities, packaging, and preparation steps, you already have a tested method.
If you want to get more from your life, and are looking for concrete action steps to get you there, check out our Request a Coach page. It’s a “cut the fence-sitting and take action” way to tackle your issues and actually find success. To get off the fence and start to take action, click or tap here.
Instead of remembering how you organized everything, save the important details while they’re still fresh.
- Record your finished basket formula: Write down the exact contents of one basket, including the container, main gift, supporting items, and packaging materials. Include the quantities needed for ten people so you can reuse the shopping list.
- Calculate your actual spending: Add up the total cost and divide it by ten to find the final price per basket. Note which items offered good value and which supplies cost more than expected.
- Save your packaging measurements: Record the approximate container size, ribbon length, and amount of padding used. These details make it easier to buy replacement supplies without repeating the testing process.
- Create a reusable gift-making kit: Store leftover cardstock, blank tags, ribbons, tissue paper, scissors, and tape together in a labeled container. Keep the kit somewhere accessible so future projects begin with supplies you already own.
- Maintain a simple neighbor gift list: Record which households received baskets and note any genuine preferences you’ve learned. This helps you avoid repeating unsuitable gifts and makes thoughtful personalization easier next time.
- Keep the system but change the theme: Use the same shopping calculations and assembly stations for different occasions. You can replace a cozy beverage theme with garden treats, household essentials, or seasonal snacks while keeping the preparation process unchanged.
A saved checklist turns a successful one-time project into a repeatable routine. You won’t need to reconsider every container size, decorative detail, or shopping quantity for the next occasion.
It also becomes easier to involve family members. Someone else can follow the same checklist to prepare containers, distribute items, or write gift tags without needing constant instructions.
The more you reuse the system, the easier it becomes to prepare thoughtful gifts efficiently.
How an Organizing Coach Can Help Simplify Repeating Gift Projects
If preparing gifts regularly leaves you overwhelmed, the problem may not be the gifts themselves. It may be the number of small decisions involved in planning, shopping, organizing supplies, and finishing everything before a deadline.
An organizing or productivity coach can help you identify where the process becomes unnecessarily complicated and develop a simpler routine.
- Identify the biggest sources of stress: A coach can help you recognize patterns such as purchasing too many supplies, changing your gift ideas halfway through, or waiting until the last minute to begin. Understanding these habits makes it easier to create a more reliable process.
- Break the project into manageable stages: Instead of treating gift-making as one large task, divide it into choosing a formula, shopping, preparing containers, assembling gifts, and delivering them. Completing one stage at a time can make the project feel less overwhelming.
- Create a realistic preparation schedule: Work backward from the delivery date and decide when each stage needs to happen. A coach can help you build time buffers for unexpected errands or missing supplies without letting the project take over your schedule.
- Develop a sustainable gift budget: Establish spending limits that reflect your priorities and avoid pressure to purchase increasingly elaborate presents. Creating a repeatable budget can also make holiday and special-occasion planning more predictable.
- Organize supplies for future projects: An organizing coach can help you establish a practical storage system for wrapping materials, spare containers, cards, and decorations. Keeping these items grouped together reduces unnecessary shopping and searching.
- Apply the same system to other responsibilities: Once you’ve practiced breaking a project into smaller stages, you can use the approach for party favors, teacher appreciation gifts, holiday preparations, or other recurring household tasks.
You don’t necessarily need a coach to create an effective system. But if planning projects consistently causes stress or leads to unfinished tasks, outside support can help you develop habits that work with your schedule and priorities.
The larger lesson is that thoughtful projects become easier when you reduce unnecessary decisions. A reliable routine creates more room to enjoy the creative parts instead of feeling rushed through every step.
If you want to get more from your life, and are looking for concrete action steps to get you there, check out our Request a Coach page. It’s a “cut the fence-sitting and take action” way to tackle your issues and actually find success. To get off the fence and start to take action, click or tap here.
Ten Baskets, One Assembly Line, and a Thoughtful Finish
Need some relationship guidance? Drop on by our directories choc full of relationship coaches and dating coaches to help make your love life the best it can be. Or click here to have us match you to the best.
Making ten neighbor gift baskets doesn’t have to involve ten separate shopping trips, complicated crafts, or an expensive collection of decorative supplies. With a repeatable formula and a little advance planning, you can prepare a coordinated set of gifts much more efficiently.
The biggest time saver is treating the project as one organized process. Choose a main gift, add two complementary items, calculate the quantities for ten people, and prepare your containers before beginning assembly.
Once everything is ready, work through the four stations in order. Preparing, filling, arranging, and finishing each batch keeps the process moving and makes it easier to notice missing supplies before the gifts are wrapped.
Remember that the most thoughtful baskets aren’t necessarily the most expensive or elaborate ones. A small collection of useful items, arranged carefully and accompanied by a genuine handwritten message, can make someone feel appreciated.
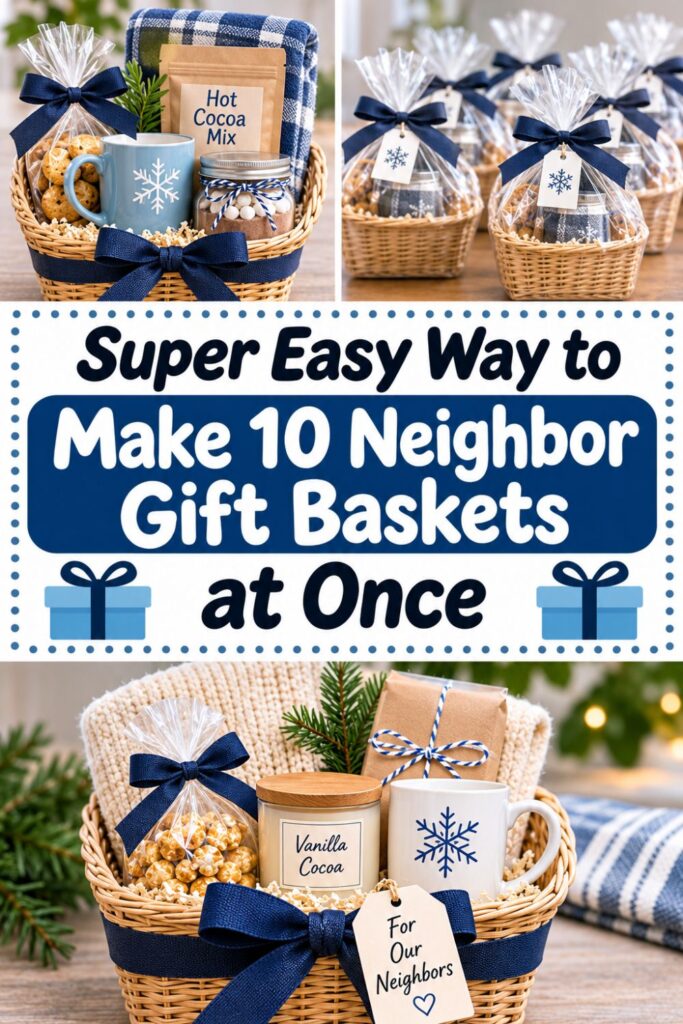
If you’re worried about the gifts looking mass-produced, focus on personalizing the finishing details. Handwrite each neighbor’s name, mention something you appreciate about them when appropriate, or choose between two small variations based on what you know they enjoy.
You can also save yourself time and money by reusing suitable containers, choosing multipack items, and avoiding decorations that don’t contribute much to the finished gift. A consistent color palette and neat presentation can make simple materials look intentional.
Before delivering your baskets, take a few minutes to inspect the contents, check the names, and organize your delivery route. That final step helps ensure all ten neighbors receive gifts that look equally thoughtful.
If you want to get more from your life, and are looking for concrete action steps to get you there, check out our Request a Coach page. It’s a “cut the fence-sitting and take action” way to tackle your issues and actually find success. To get off the fence and start to take action, click or tap here.
Finally, save your shopping list and assembly checklist for the next occasion. Once you’ve created a method that works, you can change the contents and theme without rebuilding the entire process.
The goal isn’t to make ten perfectly identical baskets. It’s to create ten small gestures of appreciation using one manageable system.
With an efficient assembly line handling the repetitive work, you’ll have more time for the personal touches that make each neighbor feel remembered.
If you want to get more from your life, and are looking for concrete action steps to get you there, check out our Request a Coach page. It’s a “cut the fence-sitting and take action” way to tackle your issues and actually find success. To get off the fence and start to take action, click or tap here.
Read this next

What Are The Odds of Getting An Ex Back?
It’s not an exact science, but there are factors to consider? Navigating the Complex Terrain of Reviving Past Relationships Embarking on the path to revive a past romantic relationship is […]
Read More
A Tool Chest for your Relationships
The power to change your current relationship is inside of you right now. Find out what’s in your tool chest?
Read More
Fulfilling the Vow: For Better of For Worse
Why is this vow so hard to fulfill? Do you really vow to stick it out during the worse times? Learn how right now
Read More