


Talk to a coach about Organizational coaching

Crystal Faulk
ACC
I help overwhelmed women in transition gain clarity, confidence, and...

Terrie Hein
Certified Life Coach, Certified Insight Coach Practitioner
Coaching to declutter your life, organize your goals, and cook...

Dr Charlene Ashley
Doctorate - Behaviours
I coach individuals to design fulfilling lives through structure, clarity,...

Paloma Chiara

Lana's Gymnastics Club
"Where the best in gymnastics meets fun. Where every child is a star"
lgclubny.com

Anna Sosnina
ICF (ACC)
ICF ACC certified coach, founder of EssorVie Coaching, passionate about...

Tyler Fink
B.A. in Religion, Anthropology, and Philosophy. Master of Divinity (M.Div.) in Missiology
Pastor, husband, and father helping Christian men pursue faithful growth...

Travis Brown
Professional Life coach
With experience in guiding clients to achieve goals, build confidence,...

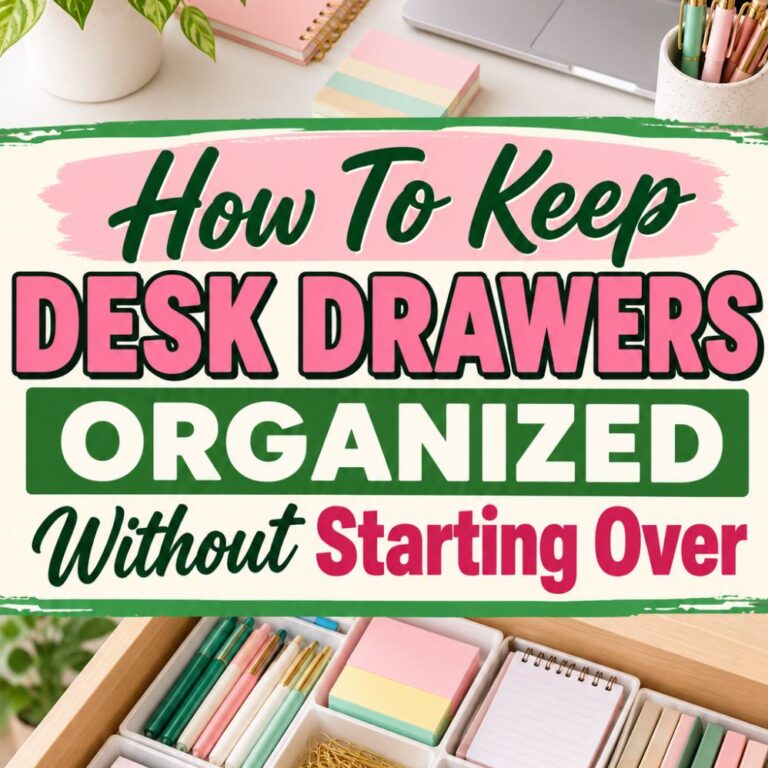


Containerized Desk Drawer Setup for Tiny Office Supplies
*****
Are you all about style, decor and organization? Download a copy of our Clutter Reset Guide.
Need some in depth help with organization and productivity ? Drop on by our directories choc full of productivity coaches, minimalist coaches, and work/life balance coaches to get your life organized! Or click here to have us match you to the best.
The Tiny Drawer Fix That Stops Everything Mixing Together
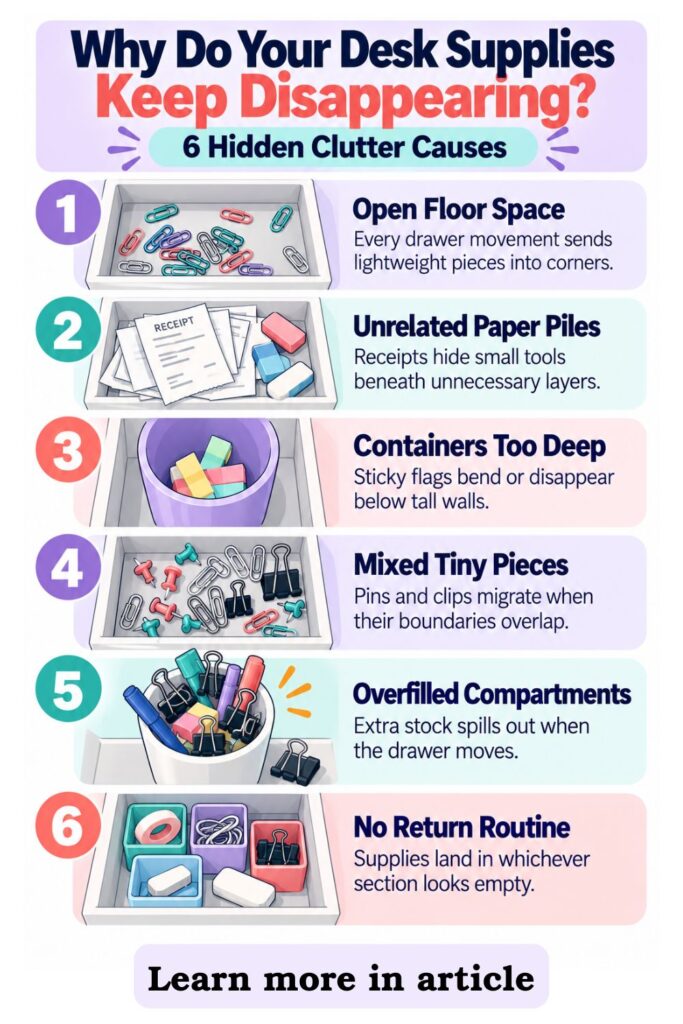
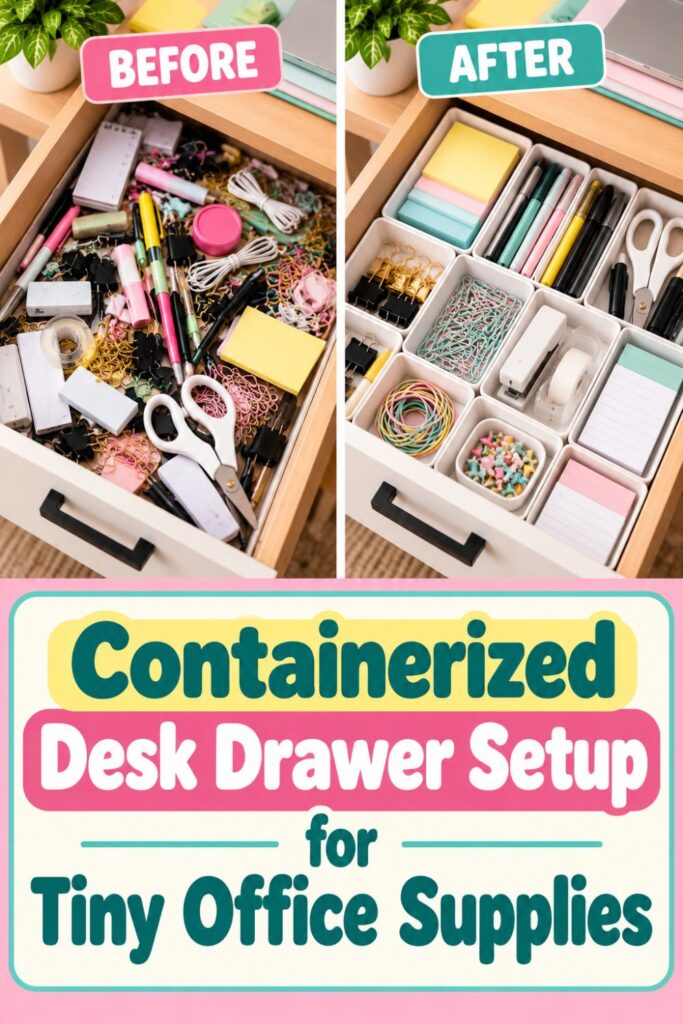
You open your desk drawer for a paper clip and find a little bit of everything instead. Erasers have rolled to the back, sticky flags are bent beneath a stapler, and loose pins are hiding under a pile of receipts. The drawer technically holds your supplies, but it does not help you find them.
The problem usually is not the number of things you own. It is the open space around them. Every time you pull the drawer out or push it closed, lightweight objects shift, bounce, and collect in whichever corner has room.
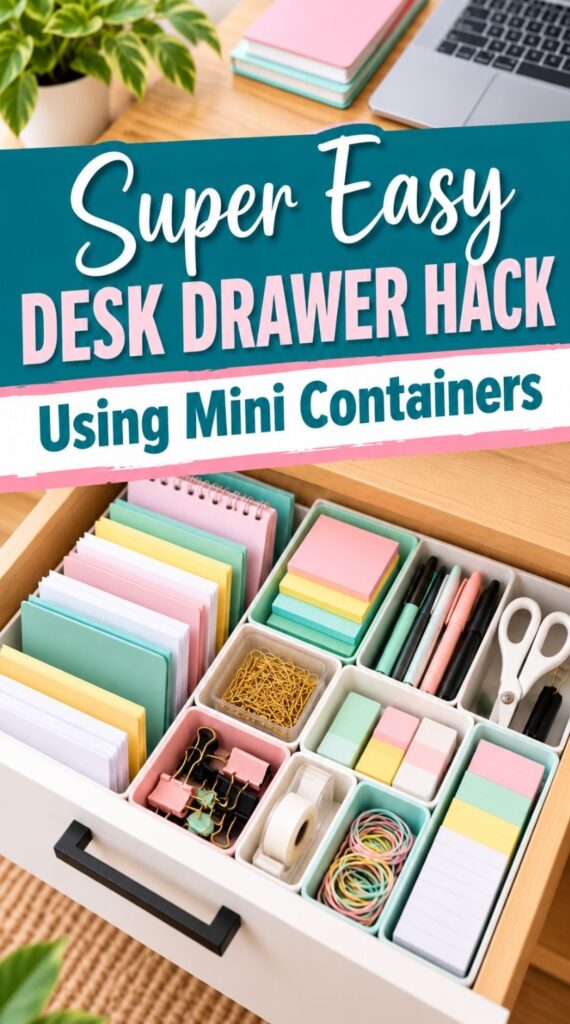
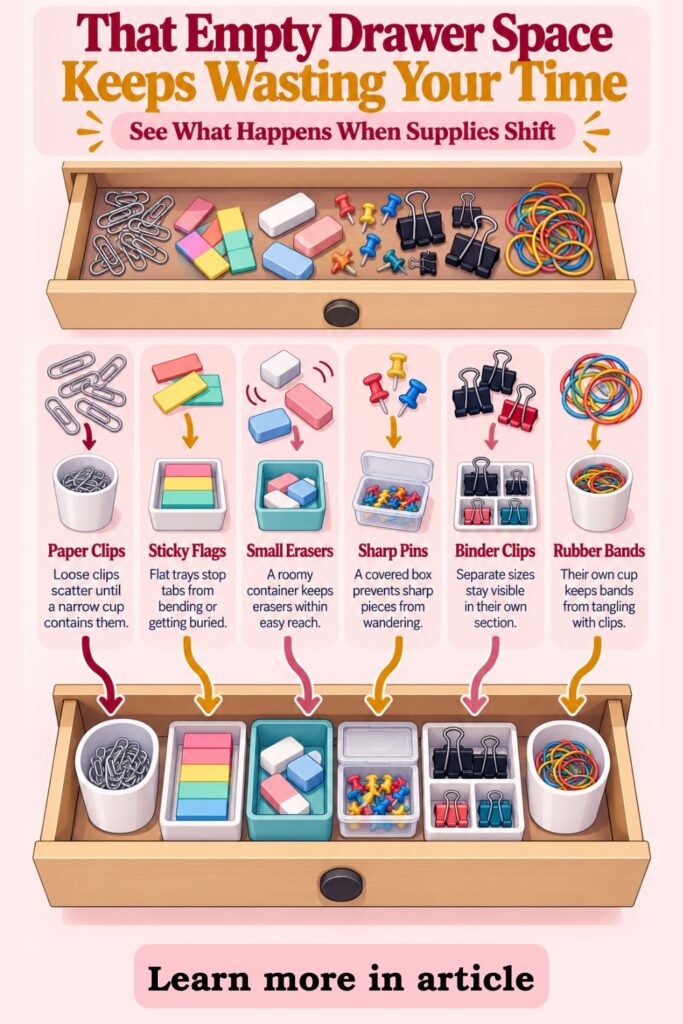
A containerized drawer gives those tiny supplies boundaries. Instead of buying one large organizer and hoping everything fits, you create a collection of small compartments sized for what you actually use. Paper clips stay with paper clips, erasers have a home, and sticky flags remain flat and easy to grab.
This is especially useful when your desk is small and you cannot spare a tabletop tray for supplies. The drawer becomes your hidden supply station, with the frequently used items up front and occasional extras tucked toward the back. This saves valuable desktop space without hiding everyday essentials. You should be able to open it, reach for one thing, and close it without sorting through anything.
Start with a single drawer: Pick the drawer you reach into most often for small office supplies, rather than emptying your entire desk at once. Aim for a clear home for each category: The goal is not a perfect showroom arrangement, but a layout you can use quickly on a busy day.
If you want to get more from your life, and are looking for concrete action steps to get you there, check out our Request a Coach page. It’s a “cut the fence-sitting and take action” way to tackle your issues and actually find success. To get off the fence and start to take action, click or tap here.
The sections below walk through the full setup, from clearing the jumble to keeping the containers from sliding. You will also learn what to do with odd-shaped supplies and how to build a small reset habit so the neat arrangement lasts beyond the first week.
Need some in depth help with organization and productivity ? Drop on by our directories choc full of productivity coaches, minimalist coaches, and work/life balance coaches to get your life organized! Or click here to have us match you to the best.
1. Empty the Drawer and Sort Supplies by Actual Use
Before choosing containers, see what the drawer is asking you to store. A tray that looks useful in a store may be all wrong for the mix of tiny pieces you already own. Emptying first keeps the layout based on real needs, not the shape of an organizer.
Set a towel or sheet of paper on your desk so small pieces cannot roll away. Tip the contents out carefully, especially if the drawer holds pushpins, thumbtacks, or anything sharp. Take a moment to wipe away dust and pencil shavings while the drawer is bare.
- Gather every loose piece: Pull clips, erasers, rubber bands, sticky flags, spare leads, and pins into one visible work area so nothing gets overlooked.
- Sort into small families: Put paper clips together, separate binder clips by size if needed, and keep sticky flags in their own flat stack.
- Remove items that belong elsewhere: Transfer receipts, expired coupons, broken pens, and unrelated objects to the proper location instead of building compartments for them.
- Choose a sensible quantity: Keep enough of each supply for ordinary use, then move bulky refills and duplicate packs to a separate backup spot.
- Notice what you reach for: Identify the two or three categories you use daily, because those should get the easiest positions when the drawer goes back together.
Do not create a separate container for every color or style unless that distinction helps you work. Five kinds of sticky flags may fit more comfortably in one flat section, while thumbtacks deserve a small covered container for safer handling. The useful categories are the ones you can remember without thinking.
You should finish this stage with a few small piles and a clear picture of what needs space. If one category dwarfs all the others, note that now. Your eventual compartments can be different sizes, which is exactly why this method works better than forcing everything into identical boxes.
2. Measure the Drawer Before Picking Mini Containers
Once the contents are sorted, measure the space they need to share. The most frustrating drawer organizers are often not the wrong style, but the wrong height. A container can fit across the bottom and still catch against the desk frame when you try to close the drawer.
Use a tape measure or ruler to check the inside width and depth, then measure the usable height. Look for drawer rails, screw heads, or raised corners that reduce the space available. Leave a little clearance so containers do not scrape when the drawer moves.
If you want to get more from your life, and are looking for concrete action steps to get you there, check out our Request a Coach page. It’s a “cut the fence-sitting and take action” way to tackle your issues and actually find success. To get off the fence and start to take action, click or tap here.
- Measure the inside, not the drawer front: Record the actual flat floor area where the containers will sit, since decorative fronts can give a misleading impression.
- Check the closing clearance: Measure from the drawer floor to the lowest obstruction above it, and favor short containers for shallow drawers.
- Match sizes to the supplies: Choose flat sections for sticky flags, narrow cups for clips, and a slightly roomier compartment for chunky erasers.
- Test a paper layout first: Cut scraps of paper to approximate container footprints and arrange them inside the empty drawer before buying anything.
- Leave a small flexible gap: Reserve a bit of room for lifting containers out or accommodating a supply that does not fit your main categories.
You do not need a costly matching set. Low food-storage inserts, clean small gift boxes, sturdy packaging trays, or purpose-made drawer cups can all work if their edges are smooth and they fit securely. Match the container material to the job rather than trying to make the whole drawer look identical.
If you are reusing cardboard, choose pieces strong enough to resist bending when the drawer opens. If you prefer washable containers, smooth plastic is easier to wipe out when eraser crumbs collect. The important test is whether each piece stays accessible and can be removed without disturbing its neighbors.
3. Create a Drawer Map with One Category per Zone
Now turn your measured drawer into a simple map. Think of the space as a row of small addresses, not one big box. Every category should have a place that makes sense when you need it and when you put it away.
Start by imagining where your hand naturally lands when you open the drawer. That front area is valuable, so do not fill it with spare staples you use once a month. Save the easiest positions for the small supplies that repeatedly interrupt your work when they go missing.
- Place everyday supplies at the front: Keep paper clips, your most-used eraser, and frequently reached-for sticky flags in easy-access containers.
- Give flat supplies flat homes: Lay sticky flags or tabs in a shallow rectangular section instead of standing them in a deep cup where they curl or disappear.
- Contain tiny metal pieces completely: Use small cups for ordinary clips and a lidded box for sharp pins so they cannot migrate into other sections.
- Put occasional supplies toward the back: Store spare binder clips, extra erasers, and less-used accessories behind the everyday row.
- Keep unlike items separate: Resist combining thumbtacks, rubber bands, and clips in one container simply because they are all small.
A simple example is a front row with three zones for paper clips, erasers, and sticky flags. Behind those, place a covered pin container and a small box for occasional extras. Your exact map will depend on drawer dimensions, but the logic stays the same: easy access in front, safe storage for sharps, and no mixed catchall.
Before settling on the layout, pretend to retrieve each supply while seated at the desk. Can you see it immediately? Can you lift out one eraser without knocking over the clip container? A drawer map is successful when the movements feel easy, not when the compartments form a perfect geometric pattern.
4. Keep the Containers from Sliding Every Time You Open the Drawer
Dividing supplies is only half the fix. If the mini containers skate across the drawer floor, they eventually create the same mixed pile inside a different arrangement. A few minutes spent stabilizing them can make the entire setup feel more dependable. It also helps prevent spills that take longer to sort afterward.
First, test the empty containers in their planned positions. Open and close the drawer gently several times, then check whether any have shifted. Lightweight plastic cups and smooth wooden drawer bottoms are especially likely to move when there are gaps between pieces.
If you want to get more from your life, and are looking for concrete action steps to get you there, check out our Request a Coach page. It’s a “cut the fence-sitting and take action” way to tackle your issues and actually find success. To get off the fence and start to take action, click or tap here.
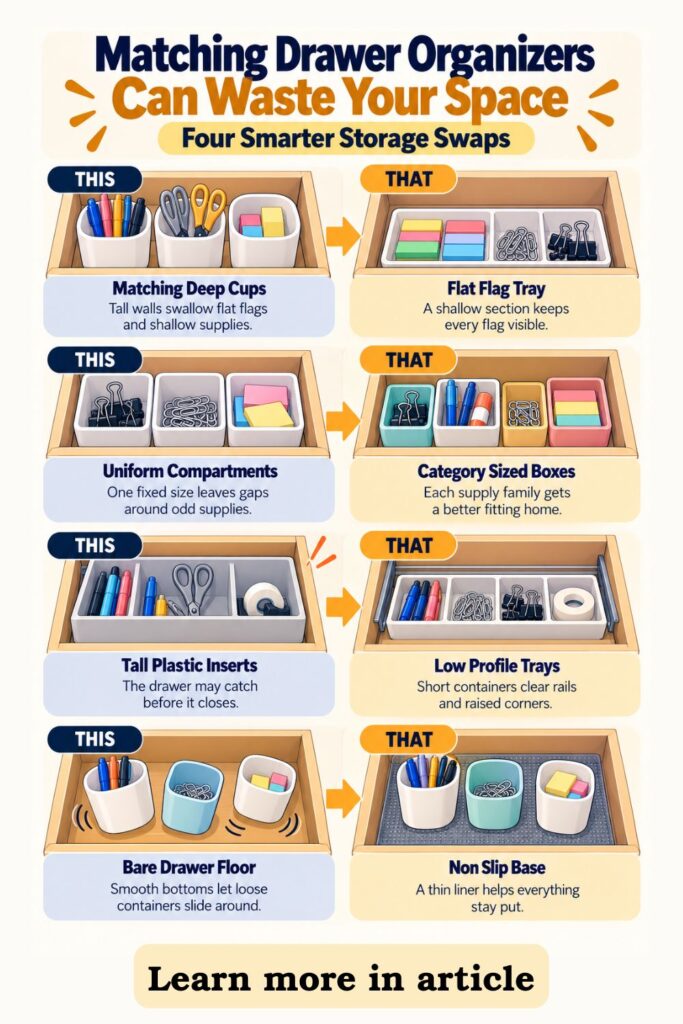
- Use a non-slip base: Cut a thin drawer liner to fit beneath the containers so the bottom has more grip without taking up much height.
- Fit containers snugly together: Arrange the larger pieces first, then fill awkward gaps with small sturdy inserts rather than leaving room for everything to drift.
- Avoid permanent fixes at first: Test the arrangement before considering removable mounting putty or another surface-safe method approved for the drawer material.
- Keep each container below the rim: Do not overfill cups with clips or erasers, because loose pieces can spill over when the drawer moves.
- Test normal drawer movement: Close it at your everyday speed, reopen it, and see whether the contents are still where you expect them.
For very shallow drawers, low-sided trays tend to work better than tall cups. Tall containers make it harder to see what is inside and can snag when the drawer closes. The less each section has to move, the less chance small supplies have to escape.
If one compartment still slides, check the empty space around it before buying extra hardware. Rearranging two boxes or adding a slim filler may solve the problem. You want a stable, removable system that works with the drawer rather than a complicated installation you cannot easily change.
5. Label, Load, and Test the Drawer in Real Life
A container layout looks finished when every little box is filled, but it is not truly finished until you can use it without thinking. This final setup stage is about making the categories obvious and catching small annoyances before they turn into clutter. A label, a better angle, or one swapped compartment may be enough.
Begin with the supplies you use most. Put each category into its assigned container, keeping stacks low enough to see the contents from above. If you have to dig to reach the bottom, the container is probably too deep or too full.
- Load one category at a time: Place clips, erasers, and sticky flags in their designated homes rather than tossing everything back at once.
- Label any confusing compartments: Add a small label to the inside edge or front lip when two containers look similar or multiple people use the desk.
- Do a one-hand retrieval test: Open the drawer, grab a paper clip or flag with one hand, and check whether the neighboring sections stay undisturbed.
- Try the return trip: Put each item back without stopping to decide where it belongs, because putting things away should be as easy as taking them out.
- Make one adjustment at a time: Move a frequently used container forward or swap a deep cup for a shallow tray if the layout feels awkward.
Live with the drawer for a few working days before adding more organizers. You may notice that binder clips need a larger space or that sticky flags are easier to use when their compartment faces sideways. Those observations are more valuable than an arrangement based only on appearance.
The best sign of success is simple: small supplies stop collecting in anonymous corners. You know where to look, you can reach what you need, and putting an item back has an obvious answer. That is the practical difference between a drawer that is merely tidy and one that is genuinely organized.
When Supplies Change, Adjust the Containers Without Starting Over
Most desks do not stay stocked with exactly the same items. A new project may bring extra binder clips, colored tabs, or a different kind of eraser. If the layout only works for one precise set of supplies, it will not last through ordinary changes.
Treat your compartments as a flexible system rather than a permanent puzzle. The categories can stay steady while the size of each container changes. That makes a containerized drawer especially useful for students, home offices, and shared workspaces where the supplies shift over time. You can adjust a single zone while leaving the rest intact.
If you want to get more from your life, and are looking for concrete action steps to get you there, check out our Request a Coach page. It’s a “cut the fence-sitting and take action” way to tackle your issues and actually find success. To get off the fence and start to take action, click or tap here.
- Keep one small overflow zone: Reserve a modest container for temporary project-specific supplies, and empty it when the project ends.
- Move bulk refills out of the drawer: Store spare packets nearby so the everyday compartments do not become crowded storage for everything you own.
- Resize a category when necessary: If binder clips become a daily tool, give them a front-row home and move a less-used category backward.
- Separate shared supplies clearly: Use simple labels that everyone can understand so the next person does not turn one container into a general catchall.
- Review before buying more containers: Sometimes shifting two existing boxes creates the right amount of space without adding another product.
Be careful about making an overflow zone too large. A roomy miscellaneous box can quietly become the same mixed pile you wanted to eliminate. If it starts filling up, sort its contents into existing categories or decide which items actually belong at the desk.
A useful rule is to change the setup only when your work changes, not every time the drawer looks slightly imperfect. A functional drawer may contain mismatched boxes and still perform beautifully. The goal is consistent separation and easy retrieval, even when the supplies and the people using them change.
How an Organization Coach Could Help You Make the System Stick
Sometimes the drawer is easy to organize but surprisingly hard to keep that way. You clear it, install compartments, and enjoy the result for a few days. Then work gets busy, tiny supplies land wherever there is space, and the carefully planned zones start to blur.
An organization coach can help when this is part of a broader pattern of setting up systems that are too complicated for your routine. The useful conversation is not about buying prettier storage. It is about noticing what happens between using an item and putting it away.
- Identify the moment the system breaks: Notice whether you leave clips on the desktop, drop supplies into the first open compartment, or pile backups into the drawer.
- Reduce the number of decisions: Make categories broader when necessary so returning an item takes one obvious movement rather than a series of tiny choices.
- Choose a realistic reset cue: Link a quick drawer check to shutting down your laptop, finishing Friday work, or another action you already remember.
- Set a small success measure: Aim to retrieve common supplies without searching and to return loose items to their containers at the end of the day.
- Adjust without judging the result: If a category repeatedly spills over, treat that as information about the layout rather than proof you lack discipline.
You can also use these questions on your own. Which supply keeps escaping its compartment? Which container do you avoid because it is hard to reach? Is the drawer holding more backup stock than your everyday work requires?
The coach’s contribution, when needed, is helping you connect a physical setup to repeatable behavior. You do not need coaching to organize a desk drawer, but a systems-focused conversation may help if clutter repeatedly returns across your workspace. Small practical adjustments are often more useful than another dramatic cleanout.
Keep the Drawer Organized with a Two-Minute Reset
Your drawer does not need daily rearranging or perfectly matched organizers to remain useful. It needs clear boundaries and a quick way to correct the small shifts that happen during a busy week. Once everything has a home, maintaining the layout should take much less effort than building it.
Choose a reset moment that fits your schedule. You might check the drawer after finishing a work session or at the end of the week. The exact day matters less than having a predictable moment to return wandering supplies to their containers.
If you want to get more from your life, and are looking for concrete action steps to get you there, check out our Request a Coach page. It’s a “cut the fence-sitting and take action” way to tackle your issues and actually find success. To get off the fence and start to take action, click or tap here.
- Return loose items to their zones: Put stray clips, erasers, and sticky flags into their assigned compartments instead of leaving them in the open drawer.
- Remove unrelated clutter immediately: Pull out receipts, wrappers, and objects that arrived by accident before they settle into a new pile.
- Check for overfilled compartments: Shift extra stock to your backup location so the containers can keep doing their job.
- Replace damaged inserts only when needed: Retire crushed cardboard boxes or cracked plastic cups that no longer contain small pieces reliably.
- Recheck the layout when your work changes: If you start using a new supply regularly, make room for it deliberately rather than dropping it into a mixed zone.
The drawer may never look exactly like a styled photograph, and that is fine. A slightly uneven row of containers that keeps sharp pins covered and paper clips easy to find is doing valuable work. What matters is how smoothly your everyday tasks go.
Make the next action easy: Start by emptying just one drawer and sorting its smallest supplies into a few categories. Build for repeated use: Measure, fit, stabilize, and test the containers before deciding the job is complete. With a system based on what you reach for, small objects finally have a reason to stay put.
*****
Are you all about style, decor and organization? Download a copy of our Clutter Reset Guide.
Need some in depth help with organization and productivity ? Drop on by our directories choc full of productivity coaches, minimalist coaches, and work/life balance coaches to get your life organized! Or click here to have us match you to the best.
If you want to get more from your life, and are looking for concrete action steps to get you there, check out our Request a Coach page. It’s a “cut the fence-sitting and take action” way to tackle your issues and actually find success. To get off the fence and start to take action, click or tap here.
Read this next
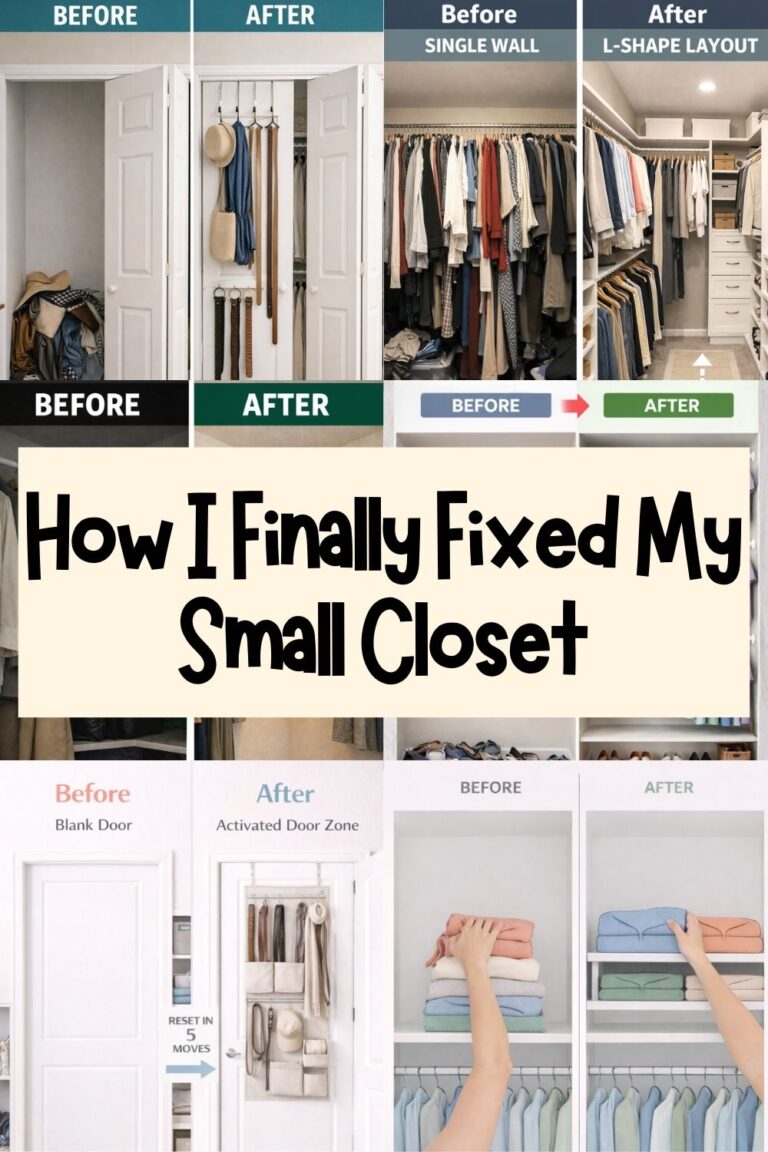
6 Small Closet Layout Fixes That Actually Work
Small closet feeling impossible? These layout fixes help you find hidden space, improve flow, and make every inch work harder.
Read More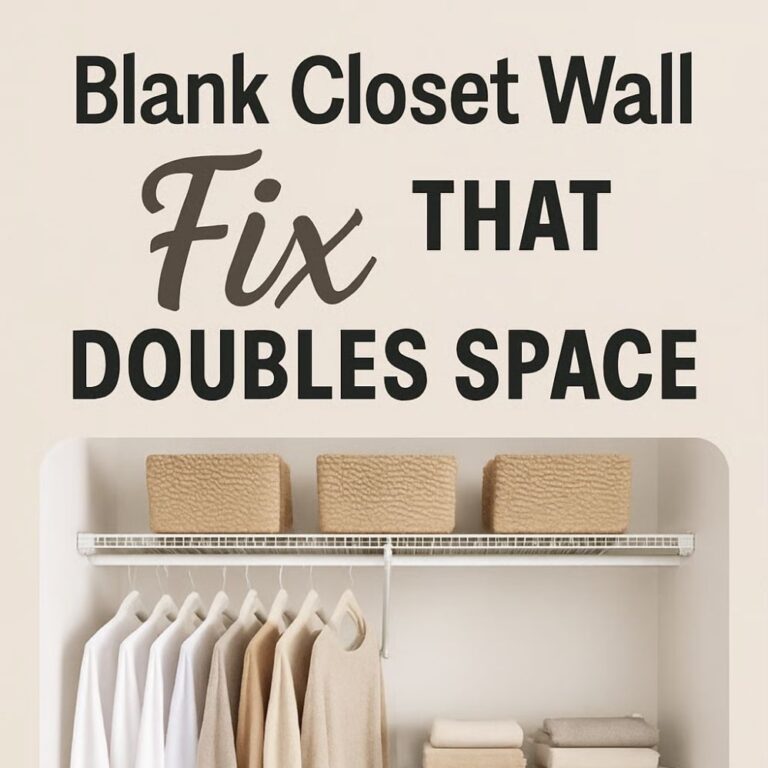
Closet Wall Organization Ideas That Use Vertical Space Better
Blank closet walls can do so much more. See the clever vertical storage ideas that make bags, shoes, shelves, and corners finally work.
Read More
Beware! The DIY Organization Mistakes That Could Cost You More Than Just Space
You want a home that feels calm, cool, and functional—but DIY organizing can quickly backfire if you’re not careful. Here are 7 mistakes that cost more than just space. Need […]
Read More