


The Minecraft Christmas Tree: Build a Blocky Wonderland for the Holidays

Are you all about style, decor and organization? Download a copy of our Decluttering Workbook.
If your family loves the creativity and adventure of Minecraft, this themed Christmas tree is the ultimate DIY holiday project. It’s bright, blocky, and full of imagination—perfect for gamers and builders alike.
This design turns traditional Christmas decor into a pixel-inspired masterpiece using simple, affordable supplies. The best part? It’s customizable for any space or skill level, and you can build it in just a few hours.
In our original roundup, The Most Fun Pop-Culture Christmas Trees of the Year—And How to Recreate Them Fast, this Minecraft-inspired design stood out as one of the most creative, family-friendly picks. Now we’re breaking down exactly how to build it block by block—from pixel ornaments to cube toppers—for a look straight out of the game.
Need some help with style or organization? Drop on by our directories choc full of image coaches, organization coaches and minimalist coaches to help make your spaces beautiful. Or click here to have us match you to the best.
1. Gather Your Building Blocks

Before you start decorating, plan your materials. You’ll want supplies that mimic Minecraft’s distinctive square shapes and bold colors.
Choose a full artificial tree as your base—it will give you structure and height without overwhelming your space. A green tree fits the theme perfectly, though a white or black one also works if you’re going for a more stylized “Nether” or “End” biome look.
Collect cube-shaped ornaments, foam squares, and colored cardstock for your pixel designs. You’ll also need tape, scissors, twine, ribbon, and LED string lights.
If you want to get more from your life, and are looking for concrete action steps to get you there, check out our Request a Coach page. It’s a “cut the fence-sitting and take action” way to tackle your issues and actually find success. To get off the fence and start to take action, click or tap here.
Products to gather: artificial Christmas tree, colored cardstock, foam cubes, LED string lights, hooks, craft tape, and ribbon.
2. Create a Pixel Pattern Plan

Minecraft is all about structure and repetition, so start by planning your color pattern. Think in “pixels”—small, square color blocks that repeat across the design.
Decide on a primary palette: shades of green, brown, and tan for an earthy Overworld look, or bright blue, red, and yellow for a more festive gaming style.
Sketch a loose layout before you begin, noting where larger ornaments or themed elements like creepers, swords, or blocks will go. This helps balance your colors and keeps the overall look cohesive.
Products to use: graph paper for layout sketches, markers, and adhesive labels for color organization.
3. Start With Your Base Lighting

Lighting sets the foundation for your entire Minecraft Christmas tree. Stick with simple patterns—solid or softly glowing—since Minecraft is known for its clean, blocky visuals rather than sparkle or shimmer.
Wrap warm white or bright green LED string lights evenly around your tree from bottom to top. Tuck them deep into the branches for a diffused, glowing base that mimics the soft lighting of torches in the game.
If you want a bolder, more “digital” look, add a second layer of color-changing lights for a subtle pixel-shift effect. This makes the tree feel interactive and vibrant without being too flashy.
If you want to get more from your life, and are looking for concrete action steps to get you there, check out our Request a Coach page. It’s a “cut the fence-sitting and take action” way to tackle your issues and actually find success. To get off the fence and start to take action, click or tap here.
Products to gather: LED light strings, extension cords, light clips, and a remote control for adjustable brightness.
4. Add Cube and Pixel Ornaments

The key to a convincing Minecraft tree is shape. Everything should feel geometric, structured, and a little “crafted.”
Create cube ornaments from lightweight foam or cardboard by cutting perfect squares and gluing them into small boxes. Paint them to resemble grass, dirt, stone, or even gold blocks using acrylic paint or colored paper.
If you prefer a quicker option, wrap small square boxes in solid-color paper and hang them like ornaments. Combine these DIY pieces with traditional ball ornaments in green and brown tones to fill in gaps.
Products to use: craft foam sheets, acrylic paint, small gift boxes, string or twine, and ornament hooks.
5. Add Themed Game Elements

Now it’s time to bring the world of Minecraft directly into your tree. Include recognizable details that fans will instantly recognize.
Add Creeper faces made from green and black paper, or pixelated hearts cut from red cardstock. You can also make small TNT blocks, pickaxes, or tools using foam and adhesive vinyl for a fun, layered look.
Hang them at varying heights to mimic the scattered layout of a Minecraft world. The mix of shapes, colors, and textures gives your tree a unique visual rhythm.
If you want to get more from your life, and are looking for concrete action steps to get you there, check out our Request a Coach page. It’s a “cut the fence-sitting and take action” way to tackle your issues and actually find success. To get off the fence and start to take action, click or tap here.
Products to gather: craft scissors, colored vinyl sheets, foam boards, and double-sided tape.
6. Build the Perfect Pixel Star Topper

Instead of a traditional metallic star, your topper should reflect Minecraft’s blocky personality. Try creating a “pixel star” out of cardboard squares or light foam.
Paint it bright yellow and outline the edges in black to replicate the game’s pixelated design. You can even glue small LED fairy lights to the back for a glowing effect that feels dynamic and digital.
If you’re feeling creative, make a cube-shaped topper like a grass block or a glowing “torch” using transparent paper and lights. Whatever you choose, keep it lightweight so it sits securely atop your tree.
Products to use: foam board, cardboard, paint, LED fairy lights, and craft glue.
7. Decorate the Base With Minecraft Details

Your tree’s base is the perfect spot to expand the scene. Wrap the bottom with brown felt or textured fabric to look like soil, and scatter cube-shaped boxes painted as blocks.
You can even stack them like terrain—grass on top, dirt or stone beneath—to mimic Minecraft’s layered landscapes. Add plush toys or figurines of characters and mobs to complete the world-building vibe.
If you have kids, include a “mini crafting zone” nearby with small tools or toy swords for imaginative play. It brings the buildable theme to life right under the tree.
If you want to get more from your life, and are looking for concrete action steps to get you there, check out our Request a Coach page. It’s a “cut the fence-sitting and take action” way to tackle your issues and actually find success. To get off the fence and start to take action, click or tap here.
Products to gather: felt fabric, foam cubes, toy figurines, wrapping paper, and decorative storage boxes.
8. Layer With Ribbon and Garland

While garlands are optional, they can add dimension if done right. Instead of the usual tinsel, use materials that stay true to the game’s aesthetic.
Try green grid-patterned ribbon or strips of burlap to mimic vines or pathways. You can also weave small squares of paper along a string to create a “pixel chain” garland that wraps around the tree.
This adds movement and visual interest without breaking the geometric consistency. Keep it loose, not perfect—just like the game’s naturally random landscapes.
Products to use: ribbon, burlap strips, craft paper squares, hole punch, and string.
9. Add Ambient Lighting and Room Decor
Once your tree is finished, extend the theme throughout the room for a more immersive experience. Add small LED cubes or string lights along nearby shelves or around the TV area.
Place decorative pixel art or Minecraft-inspired props—like pickaxes, swords, or torches—on tabletops to tie everything together. You can even hang a few pixel snowflakes or hearts on the wall for a cohesive holiday look.
If you want to go all in, project pixel-style lights or soft green glows onto the wall behind your tree. It adds depth and makes your entire space feel like a blocky wonderland.
If you want to get more from your life, and are looking for concrete action steps to get you there, check out our Request a Coach page. It’s a “cut the fence-sitting and take action” way to tackle your issues and actually find success. To get off the fence and start to take action, click or tap here.
Products to gather: LED cube lights, paper wall art, adhesive hooks, and projectors.
10. Add Sound and Motion for Extra Fun

Bring your Minecraft Christmas tree to life with sound effects and small motion elements. Play the Minecraft soundtrack or soft instrumental game music in the background for cozy immersion.
For interactive flair, hide a motion-activated sound box that plays Minecraft “ding” sounds when someone walks by. This little surprise always delights both kids and adults.
You can even add moving light effects—like a rotating LED base or twinkling star projector—to make your “world” feel alive. The result is a truly immersive gaming-inspired display that feels festive yet fun.
Products to use: Bluetooth speaker, motion sensor light box, rotating LED base, and star projector.
How Long It Takes and What to Expect
Building your Minecraft Christmas tree is fun and manageable for anyone, even without crafting experience. Expect to spend around four to six hours from setup to completion, depending on how many DIY details you include.
The crafting portions—like painting cubes or cutting paper—can be done a day or two in advance to save time. Once the pieces are ready, assembling the tree usually takes less than two hours.
The project is beginner-friendly but allows for creativity and personalization at every level. Whether you’re crafting as a family or decorating solo, it’s a rewarding, memory-making experience.
If you want to get more from your life, and are looking for concrete action steps to get you there, check out our Request a Coach page. It’s a “cut the fence-sitting and take action” way to tackle your issues and actually find success. To get off the fence and start to take action, click or tap here.
Essential products: tree, lights, foam cubes, paint, cardstock, scissors, hooks, twine, and small props.
Keep the Theme Playful and Customizable

What makes this idea so appealing is how flexible it is. You can keep the design simple with just a few cube ornaments, or go all-out with full biome details like lava, grass, and snow.
Each version of a Minecraft tree reflects the builder’s personality—just like in the game itself. Some decorators even assign each family member a “biome” to design their own section of the tree.
No two Minecraft Christmas trees look exactly the same, which makes them personal and creative. That’s the joy of this theme—it encourages imagination while staying festive.
Products to use: assorted craft materials, paints, and storage bins for organization.
The Final Build: A Tree That’s Anything But Ordinary
When you step back to admire your finished Minecraft Christmas tree, it’ll feel like you built your own digital world in real life. The blocky ornaments, glowing lights, and geometric layout make it fun, modern, and instantly recognizable.
This design appeals to both kids and adults because it blends nostalgia with creativity. It’s not just another Christmas tree—it’s a conversation piece and a celebration of what makes Minecraft so beloved.
In the end, this tree is about crafting joy, one square at a time. Light it up, grab some cocoa, and enjoy a world where pixels meet pine needles—no console required.
If you want to get more from your life, and are looking for concrete action steps to get you there, check out our Request a Coach page. It’s a “cut the fence-sitting and take action” way to tackle your issues and actually find success. To get off the fence and start to take action, click or tap here.
Keep the Holiday Creativity Going
If you loved building your Minecraft-inspired Christmas tree, you’ll find even more festive ideas in our other holiday decor guides. From cozy color palettes to luxe DIY setups, these posts help you make every space feel fresh and personal.
Are you all about style, decor and organization? Download a copy of our Decluttering Workbook.
Need some help with style or organization? Drop on by our directories choc full of image coaches, organization coaches and minimalist coaches to help make your spaces beautiful. Or click here to have us match you to the best.
Check out our favorite reads for even more inspiration:
- 10 Crazy Simple DIY Christmas Decor Ideas That Look Luxe
- This Year’s Outdoor Christmas Decor Ideas Are Better Than Last Year—Here’s What’s Trending
- 8 Gorgeous Holiday Color Schemes That Reveal Your Style (Which One Are You?)
- 7 Window Christmas Decor Ideas That Look Luxe With Almost No Effort
- 10 Christmas Table Decoration & Centerpiece Ideas Designers Swear By
- 9 Christmas Staircase Decor Upgrades Designers Love (Super Easy to Copy)
- How to Make Every Room Feel Like Christmas: Kitchen, Bedroom, Living Room & Even the Bathroom
- How to Decorate for Christmas Based on Your Aesthetic: The Luxury Lover, Modern Minimalist, Vintage Soul & Boho Dreamer
- Which Christmas Decor Style Fits You Best? Elegant, Minimalist, Cozy, or Rustic
- The DIY Christmas Wreaths Formula for Busy Holiday Weekends
- How to Make Your Front Door the Star of Christmas (With the Right Wreath)
- 8 Iconic Holiday Movie-Inspired Wreaths to Transform Your Door This Christmas
If you want to get more from your life, and are looking for concrete action steps to get you there, check out our Request a Coach page. It’s a “cut the fence-sitting and take action” way to tackle your issues and actually find success. To get off the fence and start to take action, click or tap here.
Read this next

How to Be a Better Learner
Learn valuable tips for how to get the most out of your investment in further education.
Read More
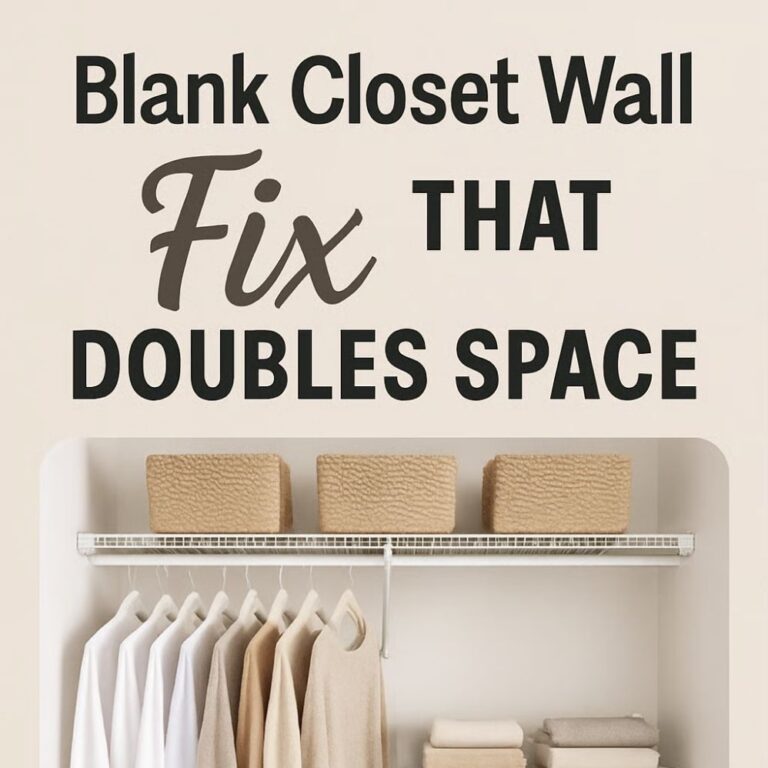
6 Small Closet Fixes That Make It Feel Twice the Size
These 6 small closet fixes make tight storage feel bigger, clearer, and way easier to use. See the simple upgrades worth trying first.
Read More
8 Small Closet Fixes That Instantly Create More Space
Tiny closet? These simple layout fixes help you find extra room, clear clutter, and make your closet feel bigger fast.
Read More